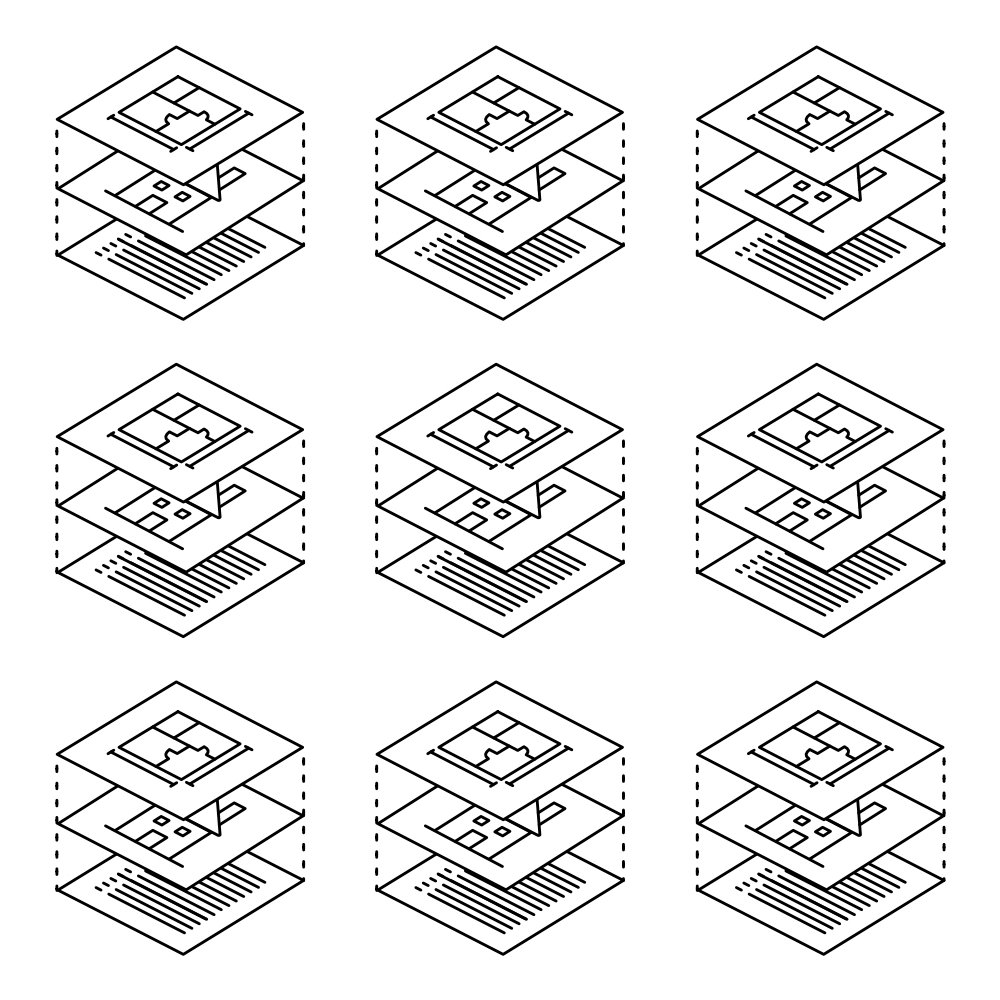
What is a Revit Project Template and Why is it Important?
What is a Revit project template?
A Revit project template is Revit file type (.RTE), separate from a project file (.RVT), used as a starting point to standardize project organization, graphic settings, and workflow setups to unify office standards and speed up production time on new projects. Templates ensure all parties involved are on the same page, so anyone can jump in at any time and know how a project should present itself from schematic design to fully issued construction documents.
Why are Revit project templates important?
Raise your hand if you love wasting time and money doing repetitive tasks? No one? Thought so.
The main purpose is to save time on setting up a project so anyone can start off at the same basepoint with all available tools and setups required to complete a project. This helps limit standards review overhead and limiting setup time for each project. Such as, how a stair should look in plan, how a fire egress plan is presented for permit review, or how cabinet families should function when generating layouts. While not each item is important for every project, having a set of standards for multiple use cases help keep the design process moving and lean without needing to backtrack on previous work.
Who should use a Revit project template?
Anyone who consistently use Revit as any project development tool. Residential architects, commercial millwork contractors, lighting design consultants, everyone. I guarantee there is a way to standardize and optimize a project setup to reduce time lost for any billable project.
How long does it take to generate a Revit project template?
This question is always prefaced with, how much time do you have and how developed are your current standards? While most office standards are formed over years, by working for more established companies and instilling their standards, developing a template will still take a lot more time than one hopes for. There are several more details to consider outside just graphics for floor plans and each aspect has their own deeper nuance to consider that general Revit user does not consider. (i.e., workflow automation triggers, family integrations for schedules, or multi-phase project browser organization.) This is why we sell pre-setup project templates to keep your costs down on needing to go through the weeds.
What should be considered when developing a Revit project template?
While I will not go into great depth about each aspect, I will briefly touch on what to consider for each category.
Project Information and Organization
Project units
Imperial or metric and how their symbols should look like for documentation. Typically, if there is need for two different unit types then they should be their own template because, theoretically, they should have different production requirements.
Parameter Types
Each project has their own data requirements and to get the best use out of Revit’s automation, various parameters and how they are utilized in the project should be considered. (i.e., POR, site information, glazing energy rating, code compliance, etc. This information will be useful for auto populating title blocks and schedules.)
Project Browser Organization
for ordering/labeling sheets, views, schedules, so everything is easily located without needing a rundown on its development.
Automation
Revit does a decent job at automating the design process but there can still be specific workflows that need to be considered upon setup.
Graphic Settings
Phasing and Filters
Phasing and phase filters dictate how graphics present from existing to new construction and object visibility applied to a view.
Object Styles
This controls globally how each object category should look across the entire project before any View Templates or graphic overrides are applied. It is an extensive list but is important for ensuring consistency.
View Templates
These are crucial for setting up consistent graphics across several drawings without needing to modify each view manually and sorting views in the project browser. Each project should have multiple View Templates to match a range of use cases.
Annotations
Lines
There are three aspects for setting lines: pattern, weight, and style. Revit is set up with industry standards but are important to consider tweaking for regional/personal differences.
Text
The text type properties window has a great depth of adjustment to ensure each firm can add their own design flair. (Make sure the chosen font is either standard on every windows machine or keep the special font files on hand when adding users to your firm, otherwise there will be issues with drawing production.)
Dimensions
Similar to text but with a greater depth of adjustment for individual graphic use cases.
Tags
Revit comes standard with several different tag types but most like their unique spin on each tag family. (i.e., elevation, section, callout, wall, floor, roof, casework, lighting, Mech ductwork, etc.)
Title Blocks
One of the most important parts for a firm’s design stamp. Setting up the right parameters inside Project Information allows individual data for each project to auto populate for each title block without the need for manually adjusting for each project.
Fill Patterns
One of the more time-consuming parts of a project, considering how difficult it is to find quality patterns, let alone variety. When gathering up fill patterns, you should also consider setting up Filled Regions too. Along with assigning Fill Patterns to various families. We generated a massive collection of fill patterns for sale in our shop to cut down on that time consuming process.
Materials
Depending on your firms rendering requirements, most firms can stick with the standard materials that come with Revit prepackaged. Also assign materials to various families as required for graphical consistency.
Content
Families
Furniture, casework, plumbing, structural components, detail items, etc. Not all families that might be used should be loaded into a template, only families that are always used. This will keep the template file lean from the start. (Smaller file is better for loading and processing changes. Also review the file size of the families.) Also consider how each family should graphically look. Families found for free online have different standards and modeling practices incorporated so extra care to review free or manufacturer families from BIM Object or Revit City.
Schedules
Schedules should be setup and integrated with all necessary family and system parameters required to push the design along with as little manual revisions as possible.
Legends
In my previous posts, I outline why legend views are very useful for documentation. Along with, what makes them different from drafting views.
Drafting Views
Typically, drafting views are used for generating details that do not need to be linked or reference the 3D model. The best use case is importing manufacturer details for CD’s. Like families, only import necessary drawings used with every project and import as necessary. (Additionally, each office should have a project file that is a collection of office approved standard details for easy reference and importing into current projects. This makes updating details from one central location much easier. I also discussed this in my previous posts.)