Edit Mark vs Type Mark in Revit

This article is short but will clarify any confusion that may come with more novice users. I will focus on two specific parameters used for coordinating: Mark and Type Mark.
Revit is a BIM program (shocking news for sure). This means that all objects and their information are dynamically linked together to automate analysis and documentation. Present in most family categories, Mark and Type Mark parameters assign identifying tags to objects allowing for easy coordination across a variety of project schedules.
What are Mark & Type Mark parameters?
In most family categories Revit includes a Mark and Type Mark parameter. These are the two built-in parameters Revit uses by default to identify instances of family objects.
Mark parameter

A Mark parameter refers to a specific instance of a placed family. This means, if a user assigns the number 102 to a 60”x80” door then only that specific door will show that label and all other instances will be labeled separately.
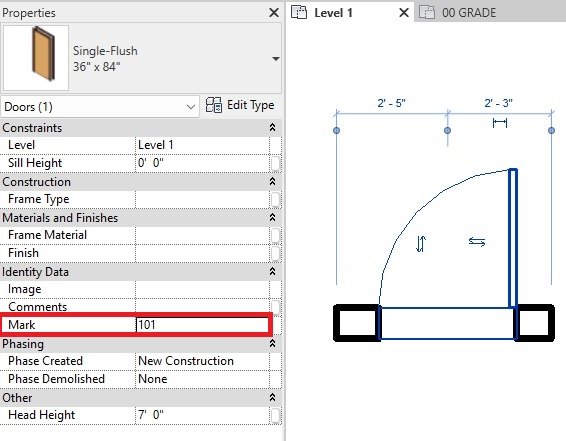
The Mark parameter is found inside the properties palette when a family is selected.
This comes in handy if, say, every door has slightly different information associated. Like hardware sets, kickplates, etc.
Type Mark parameter
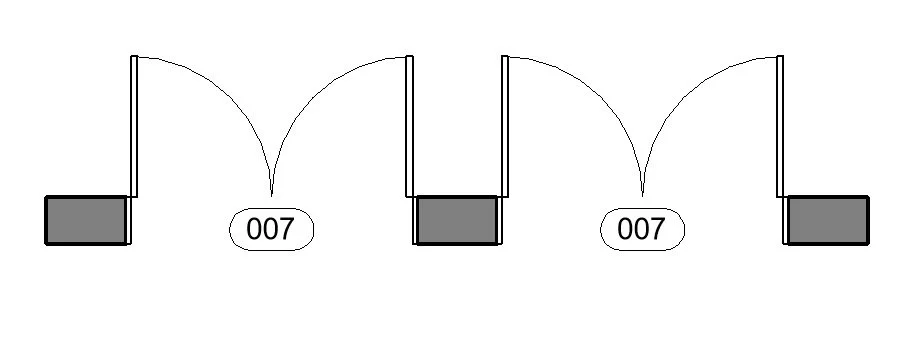
A Type Mark parameter refers to a families type. Meaning, if a user assigns the number 102 to a 60”x80” door then all instances of that door in the model will have the same number assigned.

The Type Mark is only visible inside the families type properties window.
This is useful if every interior is the same panel type, hardware, frame, etc.
Which is better?
There is no answer that covers all instances. Mark is best if every instance of a family needs to be identified with different information. Type Mark is best to group instances with the same information that do not need to be identified individually.
How to adjust mark and type mark tag parameters
One the main issues novice users bump into is how to switch out Type or Type Mark labels in a family tag. By default, some family tags are set up as Mark or Type Mark because that is what Revit thinks how most users set up their projects. However, this does not always match how each firm likes to document their drawings. Thankfully, family tags are easy to modify and does not require in-depth knowledge.

Navigate to the tag family by either selecting the tag in any view placed view and select Edit.

2. Inside the family editor select on the text and go to:
Modify | Tag Label > Label > Edit Label

3. Inside the Edit Label window there is either a Mark or Type Mark assigned parameter on the right side. Navigate to the correct parameter on the left side under Category Parameters, select and click on the right arrow button to move that parameter over.
4. Add the specific prefix, suffix, and sample value to the new parameter. Then select the old parameter and click on the left arrow button to remove the old parameter from the label. Then select OK.
5. If the tag looks correct, either save or save-as then load the family back into the project. (If you want to get fancy, then add two separate labels in the same location. One with a Type and the other with a Type Mark. Then add visibility parameters to each to easily switch out which type is used.)
6. Now the new tag will replace any existing tags with the replaced parameter. Remember to update any associated schedules with the correct parameter.